For an introduction to what e-textiles are about, look at previous post here.
Here is a very introductory sewing tutorial (11:04):
What follows is an easy to follow documentation that can be used as a tutorial with use of the e-sewing kit, with links to products, photos, and videos.
Today, the topic is using a kit. There are guides at Sparkfun: Part One and Part Two.
Here are a few short clips from my process:
First, I show getting started (2:28):
Next (1:11):
And (0:37):
Further (0:37):
Continuing (1:05):
More (1:04):
And (0:38):
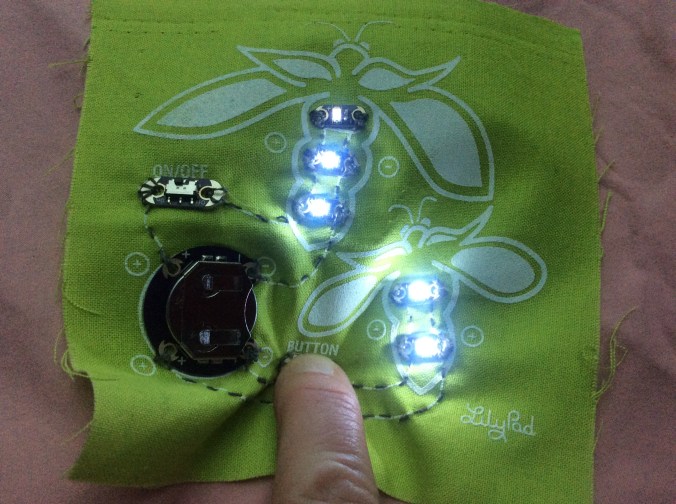
At this point: You have a complete project. You can use the project for multiple purposes.
It can be sewed or glued to almost anything and it can be sewed onto nearly anything.

Pingback: Using LilyPad Design Kit to learn basics #passthescopeEDU” | cynthiaedaydotcom
Pingback: Do It Yourself Switches and Buttons for e-textiles #passthescopeEDU #ecg2016 #edcampvoxer | cynthiaedaydotcom
Pingback: Making a Do-It-Yourself Switch to go with you DIY Button #passthescopeEDU #ecg2016 #EdCampVoxer | cynthiaedaydotcom