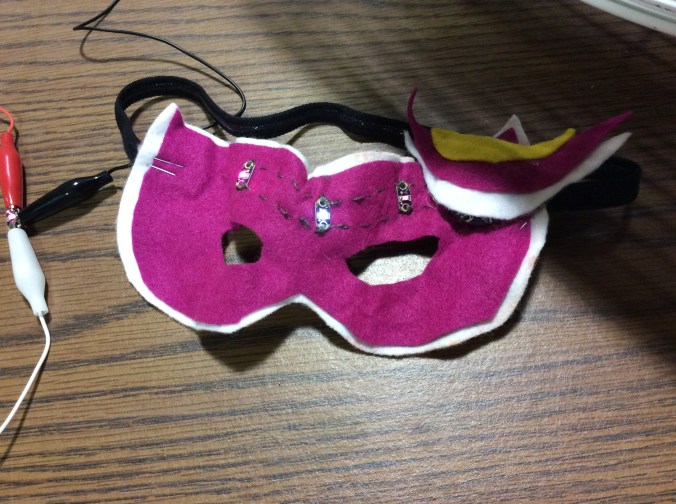
I’m warming up this blog with some fun e-textile action. Don’t know what an e-textile is? You’re not alone. The first post in this thread (no pun intended) can be quickly glanced at by clicking this mask:
E-Whaat? E-textile? Huh?
And if you want to glance at the post that comes before the post you are in right now, click on the DIY button below:

Do-It-Yourself Button
Now we get to the sister post, making a DIY switch. Just as with the button, the making of the switch is not to make a better switch than LilyPad – or to make a switch that’s more quaint. Making a switch gives a chance to get inside what a switch actually does, how a switch actually works. And to have fun for a little while. It’s not hard. It’s not expensive. Here’s a link to the Sparkfun Electronics tutorial. The end product of mine is pictured here:

I could just as easily have used one of my generic battery holders to make this switch, but I happened to use the LilyPad battery holder.
Did you noticed that I hadn’t checked that my battery was working before using it to test this project? Oops. Learned my lesson, though. Most of the time, I check the batteries very shortly before putting them into a new project.
Because this worked very well, I didn’t have the opportunity of learning a lot from it. I eventually came to see that things malfunctioning allow me the most opportunity for problem solving and understanding. At the moment it happens, there is some frustration. But as long as I’m not in a hurry or uncomfortable or tired, it gives me a chance to get better at what I’m doing.
Since this has been a short post, I’ll conclude with a little project that uses the manufactured buttons and slide switches. The end project looks like this:

The battery holder in this case does not have a slide switch directly on the board. Again, I could have used a generic battery holder. This one is LilyPad. Here is the Sparkfun tutorial. Watch the video to see my process in action:
At the very end I should have said “turn off the switch,” but I misspoke and said “turn off the button”. A button turns off when you let go of it. A switch as to be moved to disengage.
This little project is nearly identical to the e-sewing kit that I showed in an earlier post except for two differences. The e-sewing kit it is done on a printed piece of fablic. It also uses parallel circuits similar to the ones I demonstated in an earlier post.
The various compenent in the Design Kit can be used in unlimited ways, especially when combined with all the other products from LilyPad or DIY components such as generic LED’s that I twisted to make it possible to sew them into fablic. Most on that in a later post.
Do you demand that everything you attempt is immediately successful?
How much tolerance do you tend to have for technical glitches or gaps in your knowledge?
What do you do when you’re stuck?